I must say this has been one of the more enjoyable projects I think I have done. I have seen many talented people creating their own designs and I decided I would try my hand at it. I had been trying to figure out a way to make a sand castle. The ocean is one of my favorite places to visit and I remember as a small child going to the coast and making a sand castle. As a child I can only remember visiting the coast once but it is a very fond memory.
Cristi aka Paper Hoarder Disorder, sent me a new pattern she is working on and I decided it would be the perfect base for my castle. I dug through some really old papers I had and found several pieces that resembled sand and cover the outside and the inside with it. All other pattern paper is from Graphic 45 "By The Sea" collection.


This castle is made up of four different pieces. The two sides are held in place with magnets and can be removed easily. I used a die cut for the foliage and added stickles.
The tiny sea horses were part of a package I purchased from Michael's many years ago before I ever started scrapping. The tiny starfish and sand dollars were all part of the package. Never really knew why I bought them all those years ago but am glad I did now! lol
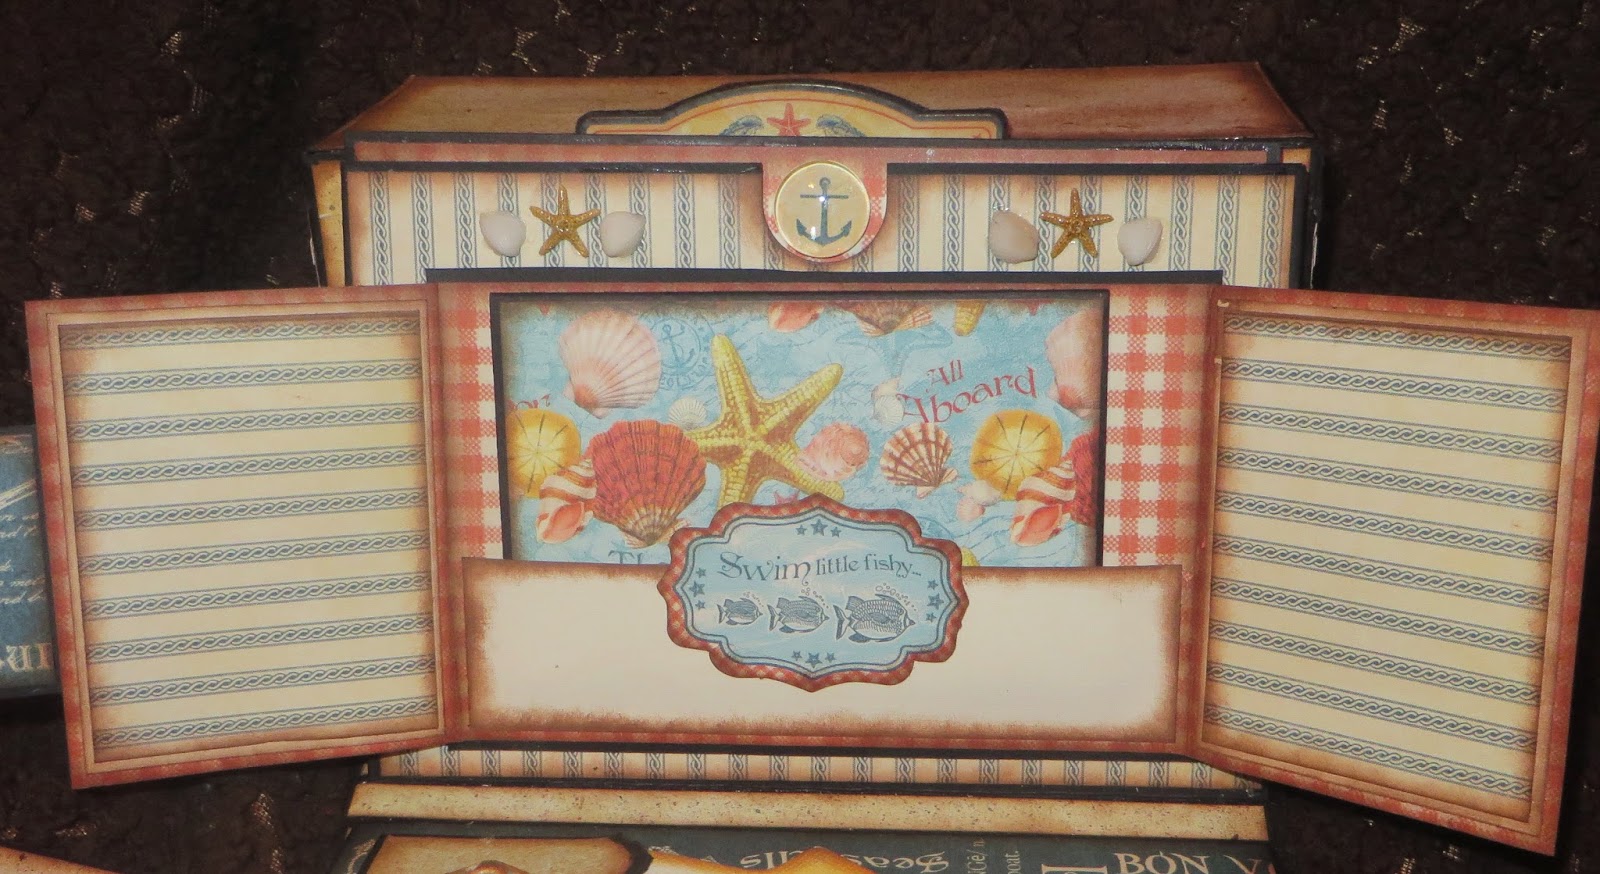
Each side opens to reveal a small accordion album that is held closed by a bellie band which is held closed with magnets!


The top of the castle also is held on with magnets. It contains a miniature "Flip It" album, This was adapted from Cristi's pattern and just resized to fit in the opening I created for it. You can find the regular Flip It pattern in her etsy shop
Paper Hoarder Disorder. Her patterns and tutorials are some of the best I have seen done and well worth the money.
The top has the same greenery as the rest of the castle. I made the tiny net out of twine. You can see the tiny starfish and sand dollar that came with the sea horses. There is even a tiny bottle with a message contained in the net. A little glitter added to it to resemble a little sand.
This little album lifts from the top. I attached chains to some TH loop fasteners that I had for a long time. I do not even think they are available any more.
Each page actually flips open for more room for photos or to journal. The pockets each contain a little folder.

The main body of this castle is Cristi's pattern for her crayon box design. I am not sure if it is ready for purchase or not but keep an eye out on her Etsy store for it! It is a very fun album to make.
The little draw bridge drops down to reveal a door. When the door is opened you see a list of the beach rules.
When you lift the lid on this a drop down side album falls down. Each page contains a pocket with a folder. This album can hold tons a photos. I love Cristi's patterns because they are so fun!
The first set of pages consist of two drop down sides with pockets and tags. The center drop down has two removable tags as well. The next page contains a little starfish mini album made from my Cricut.


The star fish charm was given to me by one of the nurses where my mother resides. They also gave me all the tiny sea shells used on this album.
The next set of pages are basically pockets with tags added. The top page is actually a folder. The tags on the bottom page are the cut outs from the Graphic 45 papers. It is a great collection to work with as is most of the Graphic 45 papers!
The next pages are all about shells! The bottom page is a pocket holding a sea shell mini album. It has tiny little shell charms hanging from it. The top page is a gate fold which also contains a pocket which holds a folder. It is held shut with magnets. The tiny shells scattered about are the ones I mentioned earlier from on of the workers at mom's care facility.
With the next pages you will see more fun things from the G45 collection. The Beach Rules are a cut apart from the paper. The three little shell emblems are from the chipboard set. On the bottom page I made an attached fold out album. It is held shut with magnets once again. I did use lots of magnets on this project.
The top page is a pocket from the collection and I made a fold out to put in it.
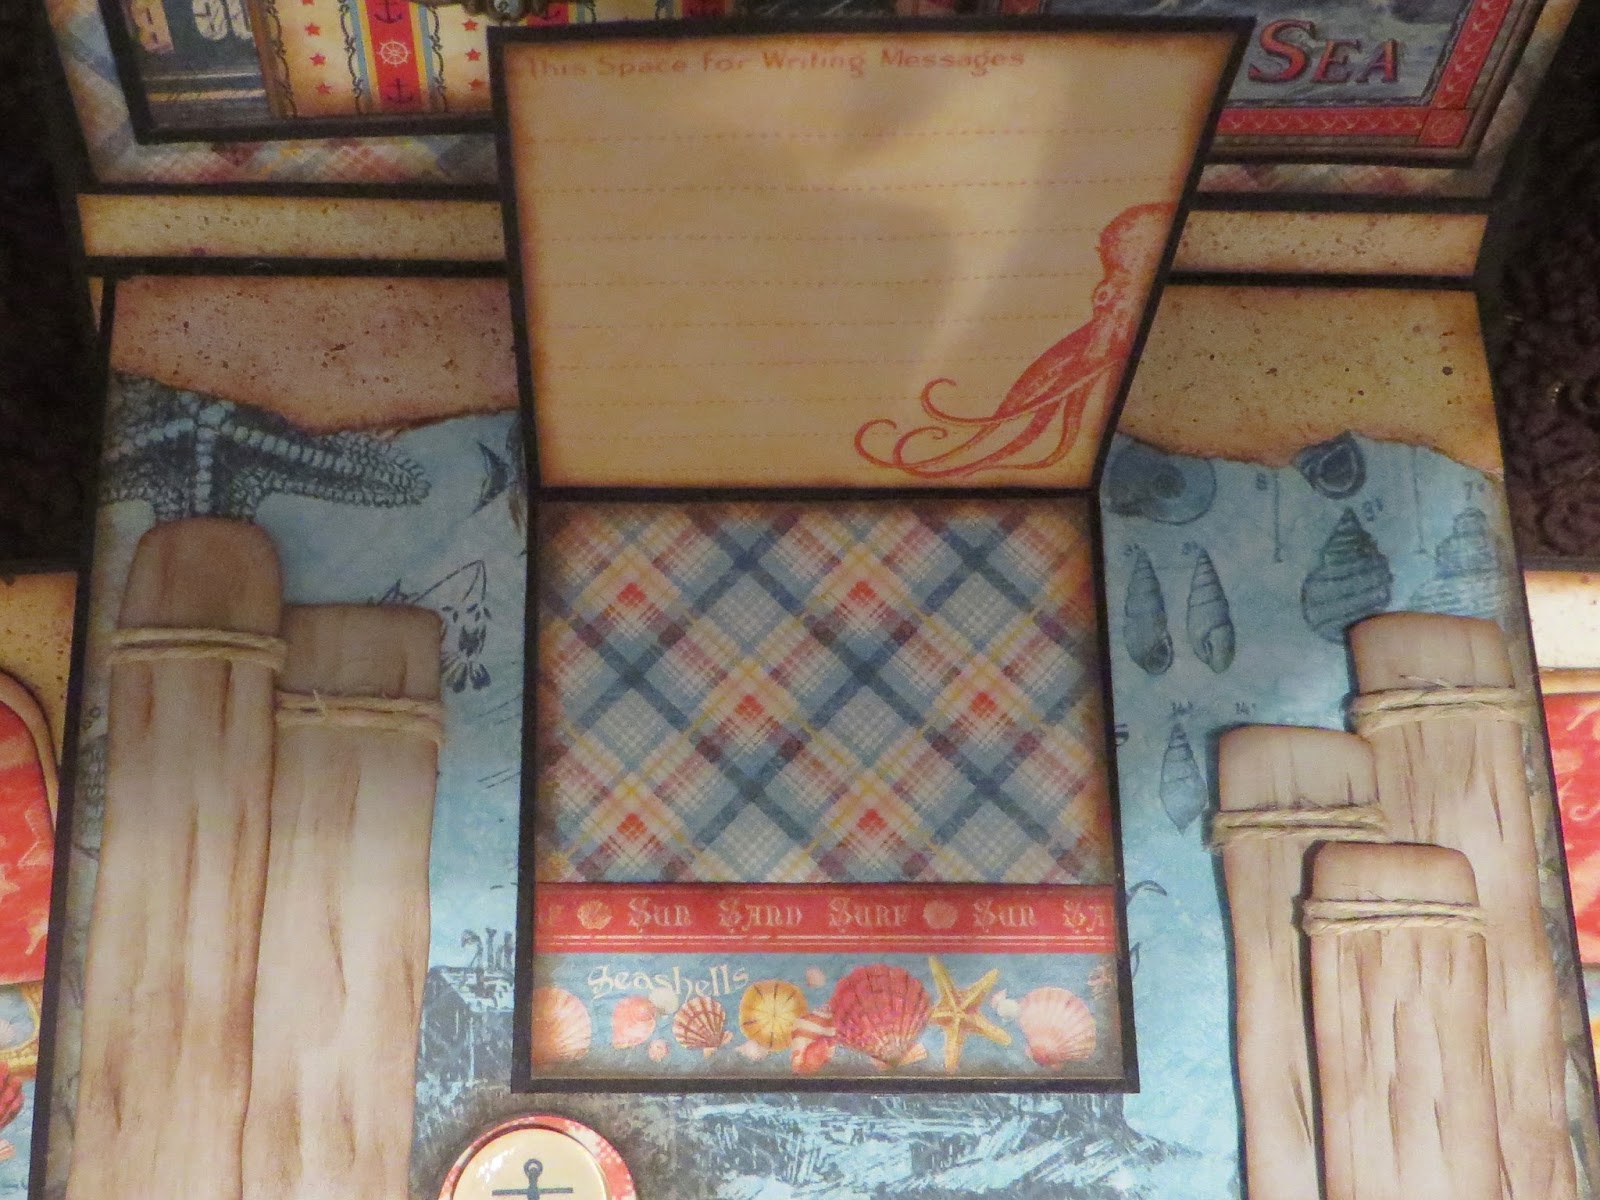
I was losing my creative imagination so the next pages are pretty bland. I made the pilings and then I added the sticker to a lift up flap on the bottom page. On the top page I used another cut apart for a pocket. I made a folder and added a premade pocket from the collection to the side of the folder. Stuck and little tag in the pocket and called it good. The metal charm and circle were purchase from a scrapbook group on facebook. An anchor topped with a glass bubble and the pocket was complete.
The last page is simple once again. I used another sticker that is from a set that I bought when a friend and I were on a little two person retreat for a few days. We spent one day shopping! I added a pocket with a pull our tag. I decorated said pocket with another little net and stay fish and tiny shells.
The back of the box that also has the lid attached if just decorated with different fussy cuts from the paper and then the title is from the sticker sheet from the collection.
Here is a picture of all the pull out folders. They have the glass bubbles mounted on a anchor picture as pulls. Each on is blue on one side and red on the other. The insides are the sandy looking papers.
Like I said before, I really enjoyed creating this set of mini albums. I was contemplating selling it, but I have a couple grandsons that have asked me not to. One told me that this is his "most favorite thing" I have made. How can I even think about selling something that he considers priceless. lol
Thanks so much for looking. May God bless you all.
The back


_-_Copy_-_Copy%5B1%5D.jpg)


_-_Copy_-_Copy%5B1%5D.jpg)


